There is a reason we are the Number 1 in DECK Tiles in New Zealand! Follow this guide for professional results.

Everything you need to know about installation, care, and maintenance
There is a reason we are the Number 1 in DECK Tiles in New Zealand! Follow this guide for professional results.
Step-by-step instructions for proper installation

Always start from the most visible edge and work towards hidden areas for the best professional appearance.
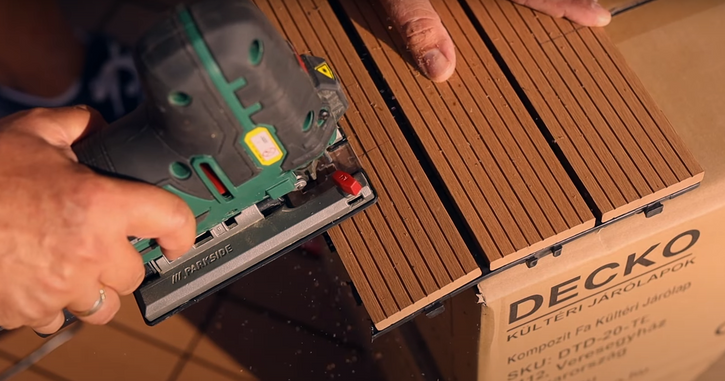
Use any wood-cutting saw to trim tiles while maintaining their structural integrity.
Always wear safety equipment when cutting. Make precise cuts for professional appearance.
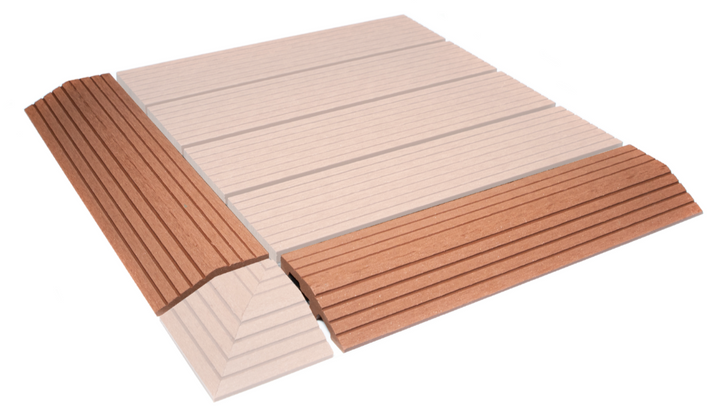
Ramp edges are optional but recommended for areas ending on walkways or frequently used spaces. Consider the width of 80mm to add or discount from your measurements.
Deck tiles can be installed vertically as a fascia or stair face using a strong construction adhesive. All options below require a high-strength construction adhesive (e.g. Liquid Nails) applied in spaced dots on the back of the tiles.
This method uses the deck tile installed vertically without ramp edges. It is suitable for clean fascia finishes where no edge protection is required.

In this configuration, the ramp edge is installed vertically to cover the exposed profile of the horizontal deck tile.
To prevent load transfer onto the ramp and adhesive-fixed tiles, the top edge of the ramp must sit approximately 5 mm below the top surface of the vertical deck tile.
⚠️ This clearance helps prevent weight being applied to vertically installed components that are fixed using construction adhesive.

In this configuration, the ramp edge is installed horizontally to cover the exposed profile of the vertical tile.
⚠️ Important: When installed this way, stepping near the edge may transfer pressure onto the vertical tile face. Ensure the adhesive bond is strong and avoid excessive edge loading.
All materials expand and contract according to temperature, so when installing the tiles between two walls or a wall and a post, it is important to leave expansion gaps. This is best done in hot conditions when the tiles have been allowed to heat up, so they are at their most expanded size, and the dilation gap of 5-15mm will not get any smaller. This will prevent warping or damage from thermal expansion.
Most common patios with open edges will not require these gaps to be left, as they are not squeezed between solid protrusions.
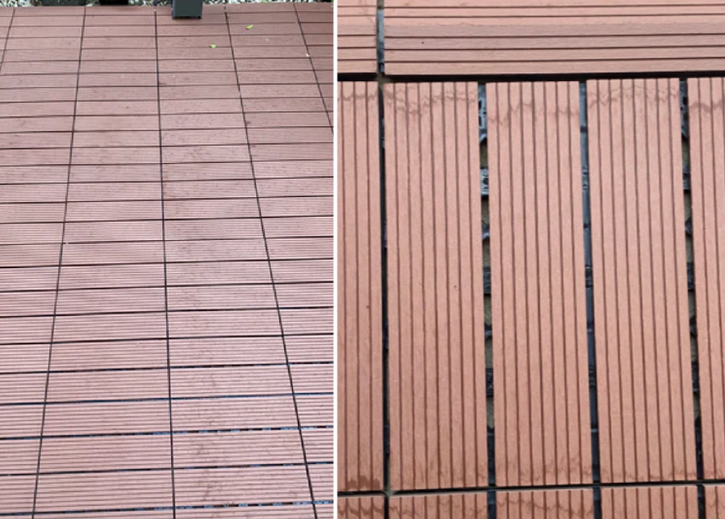
Do not install tiles in areas without proper drainage, as prolonged exposure to pooling water can lead to damage. If the underside of the tile is damp for a prolonged period, it will make the bottom side expand, and the dry top side (especially when in the sun) will make the top side shrink, causing warping. Ensure the installation site allows water to drain effectively, preventing stagnant water and allowing the tiles to thoroughly dry periodically.
Keep your product looking great for years to come
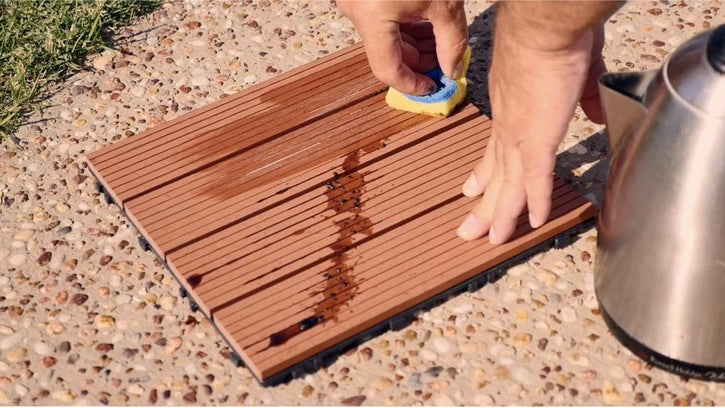

Painting, Sealing and Staining: We strongly recommend against applying a 3rd party coating to DECKO products. However, if you do decide for some reason to apply an external coating it should be done when the deck is fully cleaned and dried. Be aware that if you do apply an external coating, your warranty will be voided.
Safety First - Handling & Care of DECKO Tiles: Our 12.5 kg carton boxes contain up to 11 tiles and it is safe to handle and transport in this way. The carton boxes are manufactured in an eco-friendly way from recycled paper. Please recycle the boxes by disposing of them at your local cardboard recyclers or placing them in the recycling bin.
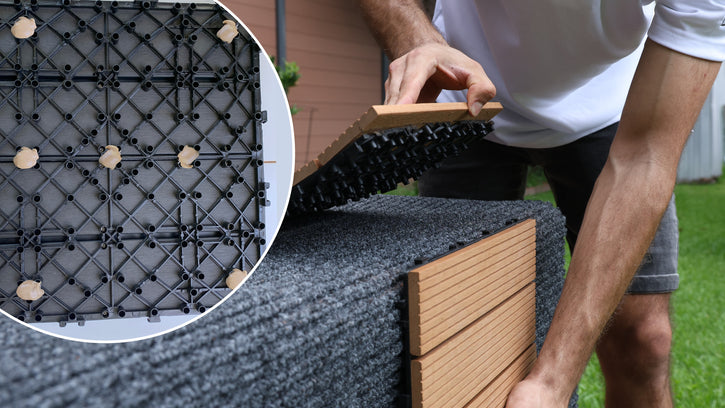
Installation Safety: When tiles are stacked on top of each other during install they can slip, so do not walk on stacked, piled or loose tiles. Please store DECKO tiles in the box in a dry area until installation to keep the integrity of the boxes for handling, even though the product inside is waterproof.
Skin Contact: If skin or hair comes in contact with dust from the product, wash with soap and water.
Eye Contact: If dust enters the eyes, wash out immediately with water. In all cases of eye contamination, it is a sensible precaution to seek medical advice.
Installation Liability: These guidelines are for demonstration purposes only, and DECKO is not responsible for any issues arising from improper installation. It is the customer's responsibility to follow the instructions carefully and ensure a safe installation. Failure to adhere to these guidelines may void the product warranty.
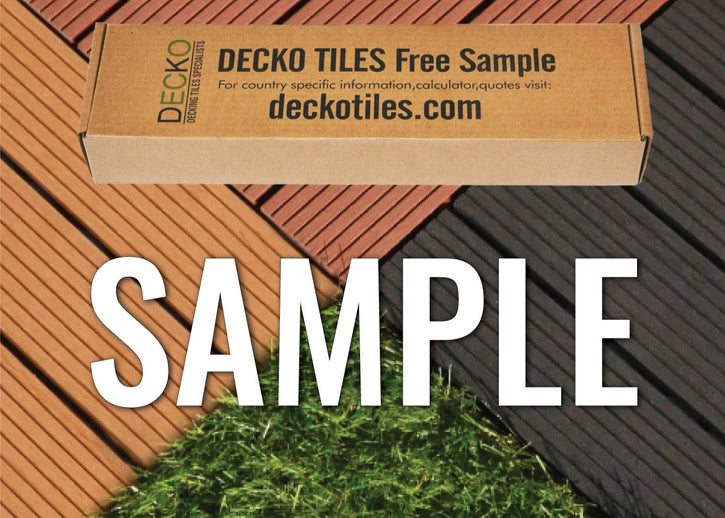
There is a reason we are the Number 1 in DECK Tiles in New Zealand! Order a Sample and find out why!
Limited time only. Grab them before they're gone.
Buy Ramp Edges Buy CornersDownload Tile Counting Grid Templates Order Your Customised Sample Pack Specs Sizing: One Tile - 300/300/20mm. There are ...
View full detailsLoading... ✕ Loading... Discount Minimum Order Specs Sizing: One Tile - 300/300/20mm. There are 11 tiles in a 320/320/235mm...
View full detailsBuy SPC Skirting Buy SPC T-Mould Buy SPC Step Edge Specs Plank size: 1220/183/5 mm Thickness: 4 mm + 1 mm EVA underlay padding = 5 mm Box: ...
View full detailsSpecs Sizing: One Panel - 900 x 300 x 2.5mmCoverage: 0.27 sqm per panel | 4.32 sqm per box (16 panels)Weight: 16.8 kg per box Description DEC...
View full detailsBuy Ramp Edges Buy CornersDownload Tile Counting Grid Templates Order Your Customised Sample Pack Specs Sizing: One Tile - 400/400/18mm, covers 0.1...
View full detailsOrder Samples Long Panels - 1200 x 600m Specs Dimensions: Square panel: 600mm x 600mm x 21mm Covering 0.36 square metres. Weight: 2.54 kg 5 ...
View full detailsOrder Samples Square Panels - 600 x 600mm Specs Dimensions: Long Rectangular panel: 1200mm x 600mm x 21mm Covering 0.72 square metres Weight: 5.1...
View full detailsOrder Samples Order Panel Specs Order Samples Now: Refundable and FREE RETURNS.* ✅ NZ-wide Shipping or Free Local Pickup - Stocked in Auckland ...
View full detailsBuy Ramp Edges Buy CornersDownload Tile Counting Grid Templates Order Your Customised Sample Pack Specs Sizing: One Tile - 400/400/18mm, covers 0....
View full detailsBuy SPC Skirting Buy SPC T-Mould Buy SPC Step Edge Specs Price/sqm: $59.76 - base price before any discountsPlank size: 640/128/5 mm Thic...
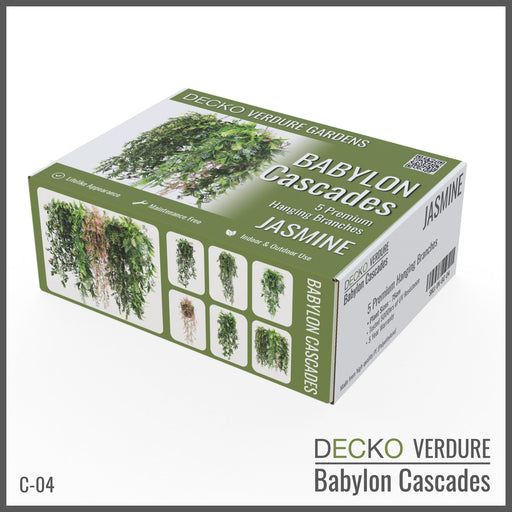
View full detailsSpecs IN STOCK in Auckland, ready for immediate dispatch! Product Overview: Collection of 5 individual premium artificial hanging plants with l...
View full detailsShop Ramp Edges Shop Corners Download Tile Counting Grid SQM Price: $67.68 - $75.20/m² Specs Sizing: One Tile - 304/304/20 mm. There are 44 tile...
View full details